Posts

Showing posts with the label Tutorial

Creating Dashed Lines and Curves in Photoshop CS5

I have been making a lot of doll sewing patterns using Photoshop CS5.  I've been having a lot of trouble making the dashed seam lines actually look good.  I see other digital patterns for sale with perfect, uniform dash lines.  I searched everywhere online, including YouTube, to find a way to do it in CS5.  I found tutorials for the newer Photoshop and even Illustrator, but not CS5.  I came really close to just purchasing CS6 (on ebay for around $100) or the new CC for $9.99 a month (which I think is ridiculous because after a few years, you've spent hundreds of dollars on it, when I purchased CS5 for $40 when I was a student.)  Anyway, I FINALLY found the solution!  And now I am sharing it with you.  I have a YouTube video on it here .

Over the Oven Towel Hangers (Toppers) and Oven Mitts

Image
With our new kitchen, I wanted something to match and look really nice.  I made some over the oven towel hangers (towel toppers) and matching oven mitts.  The mitts I had before were from Pampered Chef and I loved them.  They were double thick terry cloth.  So I found some patterns online.

DIY Minion T-Shirt with Sizzix eClips 2

Image
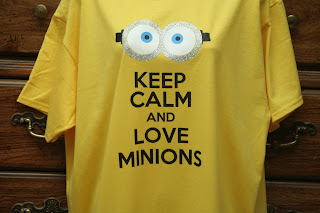
A long time ago I created a Minion T-shirt for a coworker of mine who loves minions.

Digitizing Old Negatives - Epson v550 and Kodak Mobile Film Scanner review - 110 Negative Scanner - 35mm Negatives

Image
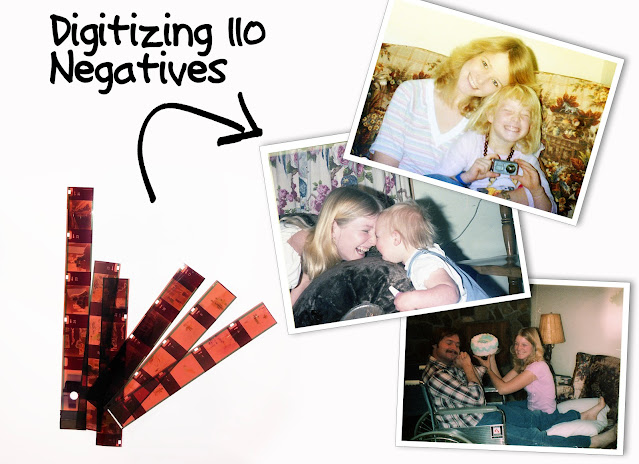
It’s a sad story, really.  My mom passed away about 5 years ago and my dad has taken it so hard that he threw out all the family photos so he wouldn’t be reminded of her.  Luckily, he found the negatives, so I’ve been digitizing them.  This article is the walk-through for digitizing negatives, and also a review of the products I used.  If you’ve read any of my past reviews, you know I am very thorough in my reviews.

Using Sizzix eClips on Heat ‘N Bond

Image
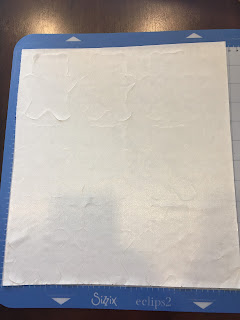
I am currently working on a bunch of teddy overalls with teddy appliques and thought it would save some time by using my cutting machine, the Sizzix eClips 2 , to cut out the Heat ‘N Bond .  I asked around and searched google, and nobody had ever tried it, so I thought I’d give it a try.  I was very happy to find out that it really does work.

Bird Quilt Tutorial

Image
In my previous post , I laid out the directions for making the Bird Quilt found on Joann.com .  In this post, I will be taking you step-by-step from start to finish, with my alterations.  The finished product is 51x64”.

Bird Quilt Project on Joann.com

Image
I’ve seen this bird quilt on joann.com before, and really liked it.  I recently acquired the bird block fabric (Nestled in the Branches Square Blocks) from a friend, so I decided to give it a whirl. The directions are vague, and some of the dimensions are missing.  The reviews are not good—mostly because the directions are so vague.  You have to guess what size to cut the sashing.

How to Make a Pellon Sample Ring

Image
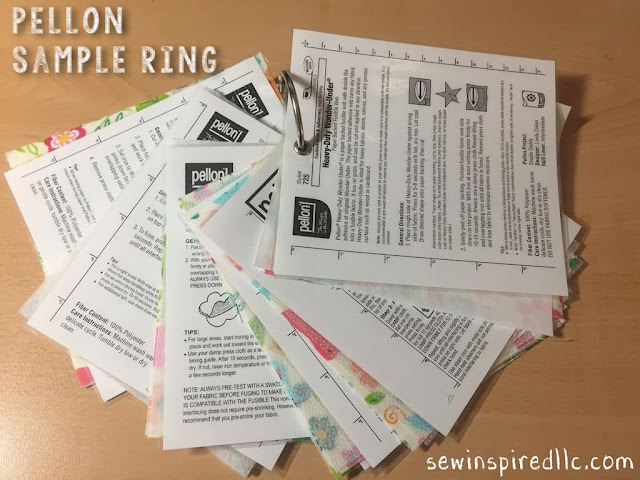
If you’re like me and never know which Pellon interfacing to use for a certain project, this nifty sample ring just might be the answer.  I noticed that there is one at Joann’s Fabrics, hanging on the Pellon rack.  I searched online for one and couldn’t find one.  I was even willing to buy one.  Alas, I decided to make one myself.  It was really simple.

Using PhotoShop for Designing a Quilt

Image
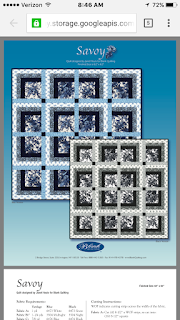
I often find fabric that I really like and I just can’t seem to picture how it would look in a quilt.  I have searched for quilting software that could easily drag photos of fabric into the blocks to see what it would look like, but only found really expensive software.  I decided to use PhotoShop. I found a quilt pattern that I really like by Janet Houts, found on Bear Creek Quilting Company, called Savoy. 

Barbie Tote Tutorial - Free Pattern

Image
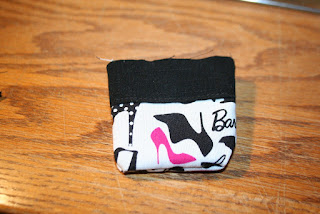
Scroll down to the bottom of the page and download and print the pattern. Cut matching ribbon 3 1/2" long.

How to Fasten the Back of a Barbie Nightgown/Outfit

Image
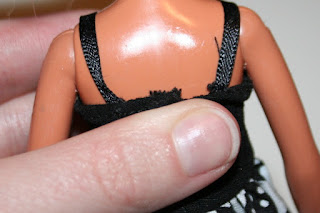
I’ve had people wondering how to fasten the back of a Barbie nightgown or outfit, so if you’ve been wondering, this post is for you. There’s basically two ways to fasten the back of an outfit. You can either use velcro (hook and loop) or snaps. First I’ll list the pros and cons of using either.

Mattel Booful Bare Bottom Baby Beans Bonnet Replica

Image
I was tired of my Baby Beans not having his hat, so I made him a replica. If you are “sew” inclined, you can make one, too!

Baby and Doll Swaddling Blanket Tutorial and Pattern

Image
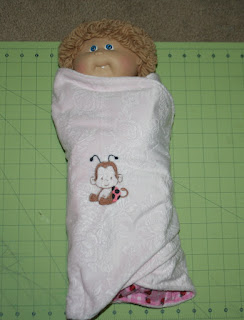
I had some really soft fabric that I’d purchased at Joann’s last year and wasn’t sure what to use it for. Then when I saw my niece at the hospital and she had a swaddling blanket, I decided to make a couple. It was pretty easy, and fun. My oldest daughter wants me to make one for her doll. And my other daughter wants me to make one for her baby when she grows up and has one.

Children's Hat Tutorial - Butterick B5056

Image
My son loves tractors, and I had some scraps of material with tractors on it, so I thought it’d be perfect for a hat for him. I used pattern Butterick B5056 , hat C.

Diaper Bag and Blanket Sewing Tutorial

Image
My sister-in-law is having a baby in May, so I made her a diaper bag and blanket. I embroidered her baby's name, Ian, on the blanket. I went through 5 sewing needles before I finally got my sewing machine figured out. I had just bought a new sewing machine that does embroidery, and it was a pain getting it adjusted right. I was about to get rid of it. Then I started sewing with it and it worked like a dream. It put my old sewing machine to shame.

Dress Sewing Project Tutorial

Image
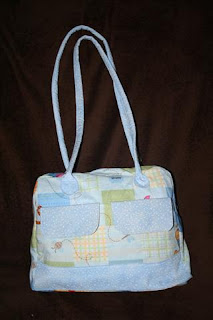
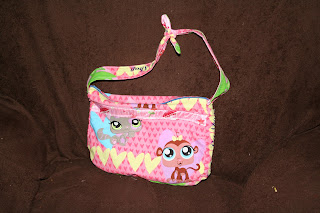
Last weekend I started cutting out the fabric for Annalise's dress, and Kristin's and Annalise's purse. This weekend I got Kristin's purse done and Annalise's dress done. Next weekend I will finish Annalise's purse. Here is Kristin's purse:   She picked out the pattern and the fabric. I did some changes to it, and didn't quite follow the directions (bad mistake), but it still ended up pretty cute. I got the free pattern (Flirty Floral Handbag) at Joann.com I also got Annalise's dress (Girl's Zest Dress) pattern at Joann.com The steps were a little confusing, so I took pictures as I went. Pictures always help me out. The first step, of course, is making the patterns and cutting out the fabric. Step 2: Sew the front and back together on the sides. Then do the same with the lining. Step 3: Sew the ruffles on. The ruffles directions were different from what I'm used to. It said to fold them in half, lengthwise, and sew the ends, the...

Disclaimer

As an Amazon Associate I earn from qualifying purchases.