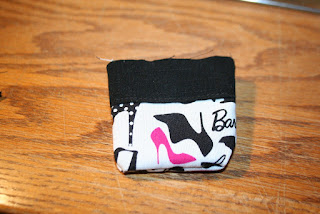
Barbie Tote Tutorial - Free Pattern
Scroll down to the bottom of the page and download and print the pattern. Cut matching ribbon 3 1/2" long.
1. Sew Top of tote to bottom of tote, right sides together. (In the photo I top stitched it)
2. Right sides together, Sew Front and Back of tote together, at side seams, leaving top unsewn. Turn right side out. (In the photo, I had cut two separate bottom pieces and sewn them together)
3. Sew Lining together, just as you did in the previous step.
4. Sew snaps in lining.
5. Mark about 5/8” from each side at top of tote for the straps.
6. Sew straps on where you marked the tote, about 1/8 from edge of top of tote.
(In the photo, I used fabric instead of ribbon--Ribbon is MUCH easier.)
8. With Tote right side out, and Lining right side out, put Tote inside Lining. Sew together with 1/4” seam, but leave an opening to turn it.
10. Push Lining inside and slip stitch the opening.


