Diaper Bag and Blanket Sewing Tutorial
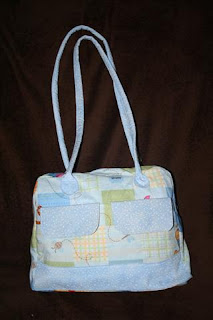
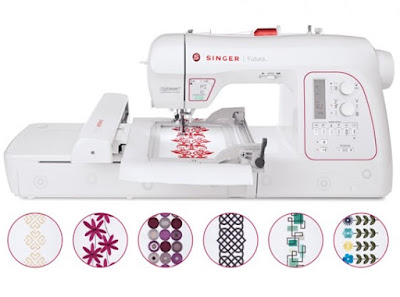
 My sister-in-law is having a baby in May, so I made her a diaper bag and blanket. I embroidered her baby's name, Ian, on the blanket. I went through 5 sewing needles before I finally got my sewing machine figured out. I had just bought a new sewing machine that does embroidery, and it was a pain getting it adjusted right. I was about to get rid of it. Then I started sewing with it and it worked like a dream. It put my old sewing machine to shame.
Pooh fabric used: Pooh Nursery Character Patch Fabric
I took pictures of each step for the diaper bag:
1. Front pockets. I used denim to help support them since the magnetic snaps are so strong. Right side to right side, I sewed the edges, all but the top. Then I put the magnets on.

Here's the back.
10. Now for the top. These are the pieces where the zipper is sewed. I folded the inside of each one about a centimeter and ironed.
11. The zipper was a little hard to sew since I was trying to make it as close as I could without it being too close.
12. Then I sewed the top to the sides and bottom.
13. Then, right side to right side, like a box, I sewed the top/sides/bottom piece to the front.
14. These straps were the hardest. I will never make a bag with these kind of straps again. I had to sew the pieces together, right sides together, then flip it right side out.

15. Then I had to fold the straps about a centimeter inside on each side, then folded parts together, iron, and sew along the edge.

16. Then I sewed the straps on.

17. Then I made the inside pocket. Sew right sides together, leaving room to flip it inside out . . .


18. Then sew "darts" on one of the sides to make room for a little give to place something like a cell phone in it.


