Posts

Stitch Length Conversion Table

Image
I ran across some patterns that call for 20 stitches per inch.  I don’t have that setting on my machine.  All I have is numbers from 0.8 to 5.0.  So I printed a ruler on a piece of paper and started from 0.8 and sewed a one-inch line, counting the stitches as I went, then went to the next number up and so on.  I made a chart with the stitches length to go back to for reference.  These numbers are approximate, so please don’t be mad at me if they are not the same on your machine. I have a Singer Quantum Stylist 9960 and I used a #14 needle.
Going Primitive

Image
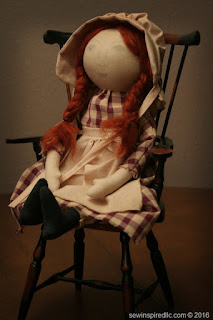
A few months ago I made my first Prairie Doll . She was made simple, faceless, and with not much “aging.” I have since then studied Primitive techniques and dolls, from Prims Magazines to facebook groups such as Purely Primitive Dolls, from Barb Moore’s book. So I “grundged” my first Prairie doll. I used a pattern I found from Happy Heart Patterns , which is SO much easier to follow and has better directions than the pattern from my first Prairie Doll. I stained the muslin using Rit dye before I cut out the pattern. I threw it in the dryer, then ironed out the wrinkles and went to work tracing the pattern onto the muslin. She turned out just lovely . . .

First Prairie Doll

Image
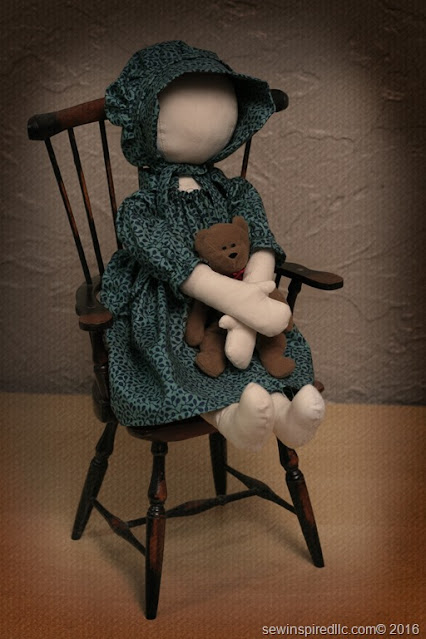
I’ve began a new adventure in sewing. I made my first Prairie doll! I found the pattern on etsy by Sweet Meadows Farm. I wasn’t too impressed with the instructions, because it’s like she was trying to cram it all onto one page. It was a jumbled mess. She didn’t even have diagrams or steps. I ended up doing the hands differently because the way she had it was so different than what I’m used to—no seams; just trace the pattern onto the fabric and sew exactly onto the lines, then cut it out. I didn’t do it that way at all. I had never even heard of doing it that way, so instead, I redrew the pattern to include seams. Needless to say, my faceless prairie doll came out pretty darn cute. So cute, in fact, that my oldest daughter who is 15 years old, wanted the doll, so I gave it to her to cherish forever, as something her mommy made. And of course, my other kids now want a doll, too.

McCall's 5613 Pattern Review - Girls Summer Dress

Image
You can read my full review here . This was a nice change of quick and easy. I have been sewing things that have been taking all day long to finish, so when this dress only took two hours, I was so happy.

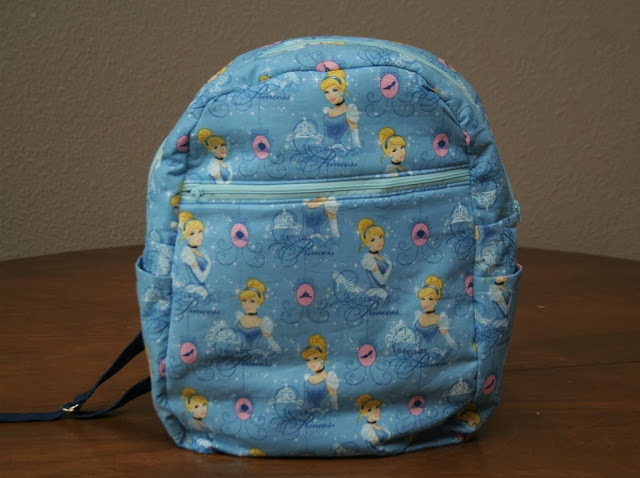
Princess Cinderella Backpack

Image
I made another backpack using Simplicity 1388. This one was for my youngest daughter. You may have read my last review of it. It was easier the second time around. The main thing that I did differently was that I made the bottom gusset piece 2” longer, which allowed the pieces to fit together better. Last time I had to trim off 1/2” from the bottom of the front and back.

Simplicity 1388 Pattern Review–Backpack

Image
Pattern Description: Backpack, I chose view A Pattern Sizing: One-size--pattern envelopes says 14x11x4 (mine is 13.5”x11”x4 since I had to take off 1/2” from the bottom front/back to properly line it up.) Did it look like the photo/drawing on the pattern envelope once you were done sewing with it? It looked even better! Were the instructions easy to follow? Yes, they were VERY easy to follow. The last backpack I did was from Butterick 6072. This pattern was easier to follow than the Butterick.

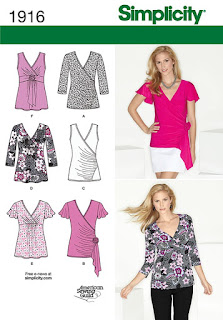
Simplicity 1916 Pattern Review

Image
Pattern Description: Misses' knit wrap top with sleeve variations. (For contest entry) 1. Why do you think this was voted one of the Best Patterns? It is a very cute shirt. I'm sure many people like the style and it's fairly easy to make.  

Disclaimer

As an Amazon Associate I earn from qualifying purchases.